
Welcome to the pottery making vocabulary page! Here you will find a comprehensive list of terms related to the art of pottery making. Explore links to games, flashcards, and other resources to help you learn and understand the terminology associated with this craft. Get ready to expand your knowledge and enhance your skills in the world of pottery making!
Pottery making is a traditional art form that involves shaping clay into functional or decorative objects through various techniques like coiling, pinching, and wheel throwing. This hands-on craft requires patience, skill, and creativity to mold the clay into desired forms before firing it in a kiln to harden. Pottery making has a rich history dating back thousands of years and continues to be a popular form of artistic expression today. Whether creating everyday items like mugs and bowls or intricate sculptures, pottery making allows artisans to showcase their talents and connect with the past through this timeless craft.
Practice & Reinforce Your Learning
Pottery Making Vocabulary List
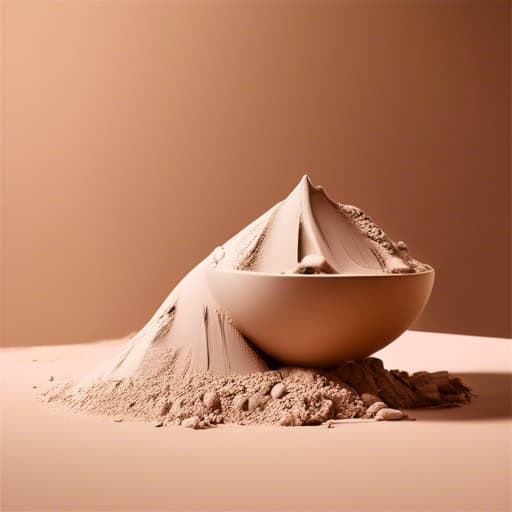
Materials
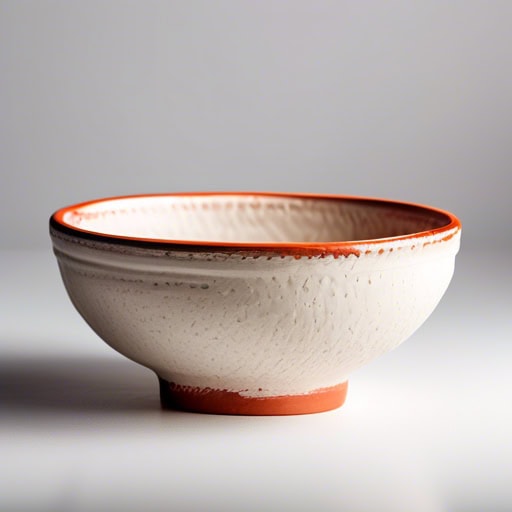
- The potter carefully applied a layer of glaze to her ceramic vase, enhancing its vibrant colors and glossy finish.
- After the pottery was fired in the kiln, the glaze transformed into a beautiful, glass-like coating.
- The artist experimented with different glaze combinations to achieve the perfect texture and sheen on her sculptures.
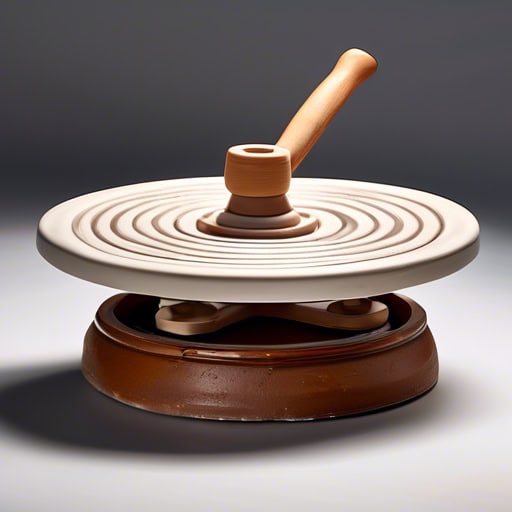
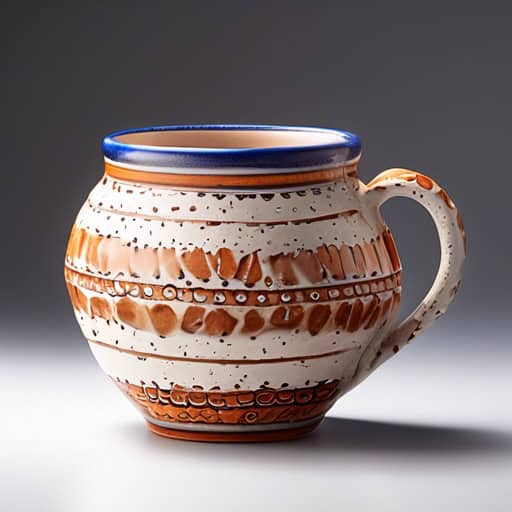
- The potter's wheel spun quickly as the skilled artist shaped a delicate vase.
- She spent hours at the potter's wheel, perfecting her craft and creating beautiful ceramics.
- The rhythmic hum of the potter's wheel filled the room as the potter molded the clay into a graceful bowl.
- She accidentally let the plate slip from her hands, causing it to shatter on the floor.
- The potter carefully applied a layer of slip to the surface of the clay vase before firing it in the kiln.
- The wet tiles made the floor slippery, causing him to slip and fall.
- The pottery instructor demonstrated the proper technique for firing the clay pots in the kiln.
- The firing process can take several hours depending on the size and thickness of the clay objects.
- After the firing is complete, the pottery pieces will be ready to be glazed and decorated.
- The artist carefully inspected the bisque pottery to ensure that it was free of cracks or imperfections.
- After the bisque firing, the pottery will be glazed and fired again to achieve a smooth, glossy finish.
- The delicate bisque figurines on display at the art gallery were intricate and beautifully crafted.
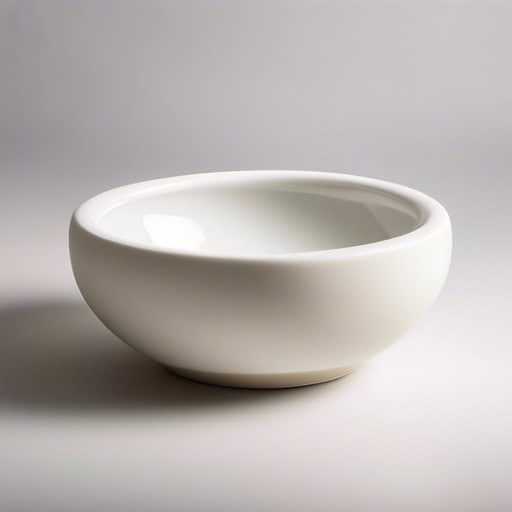
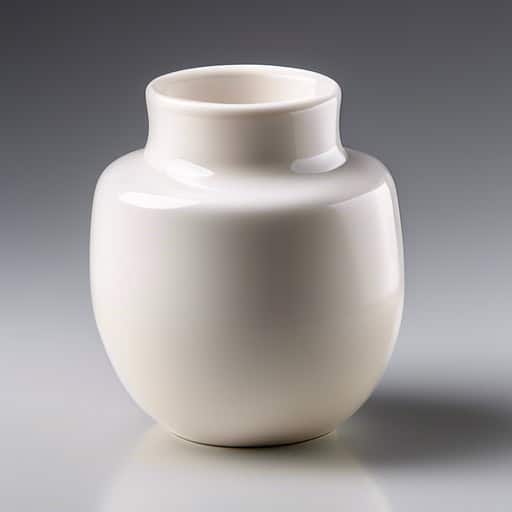
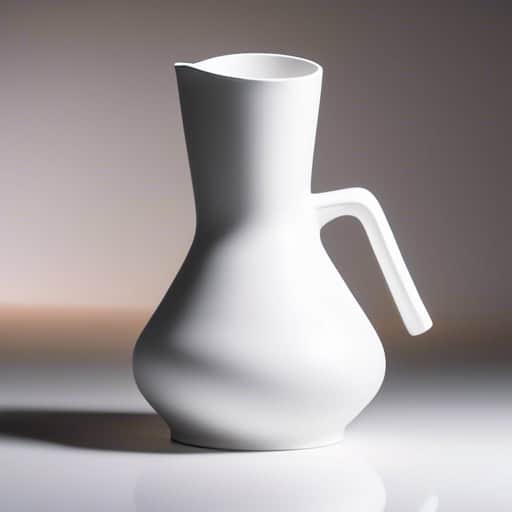
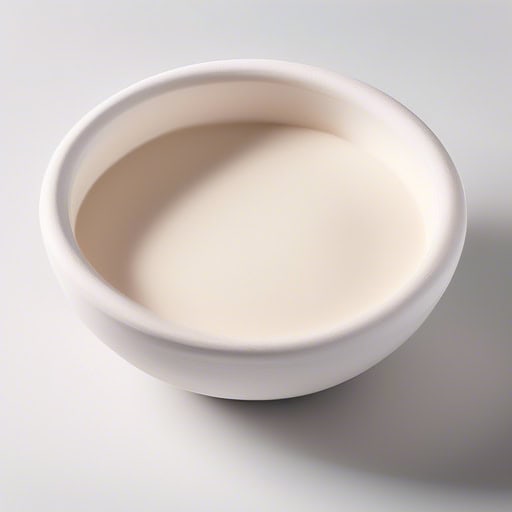
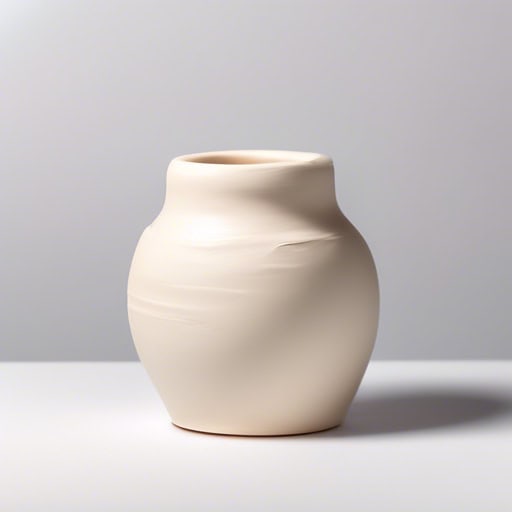
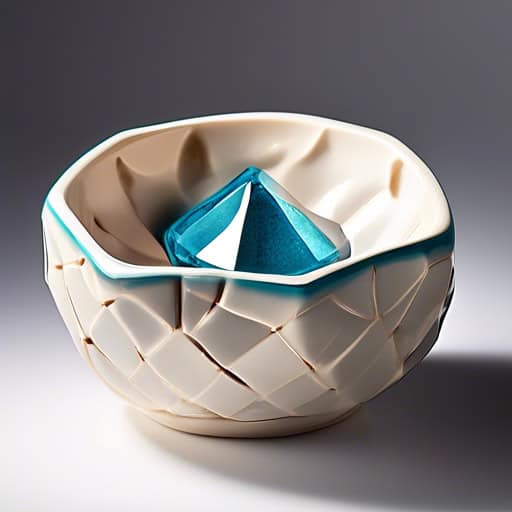
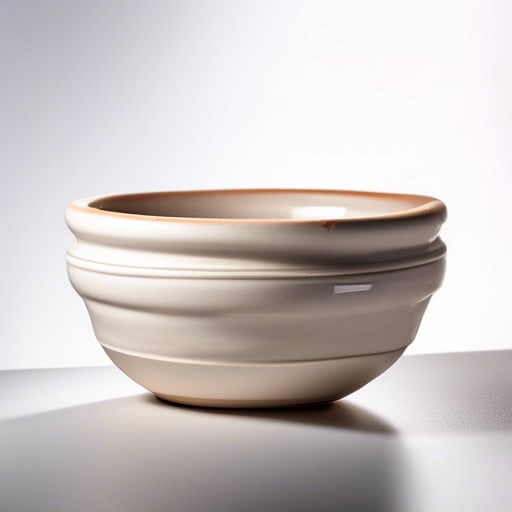
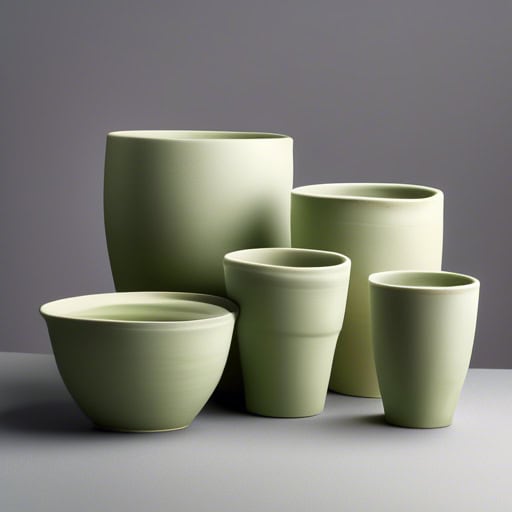
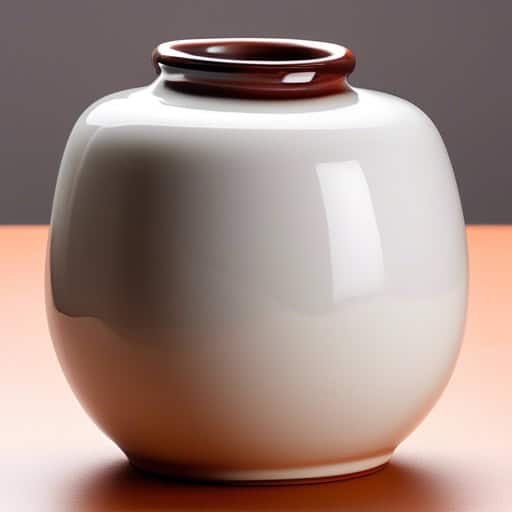
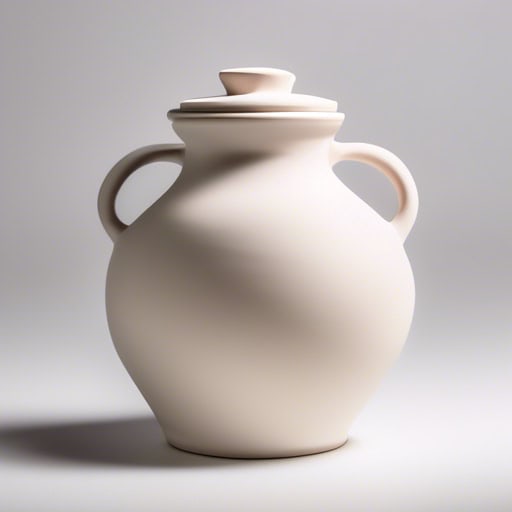
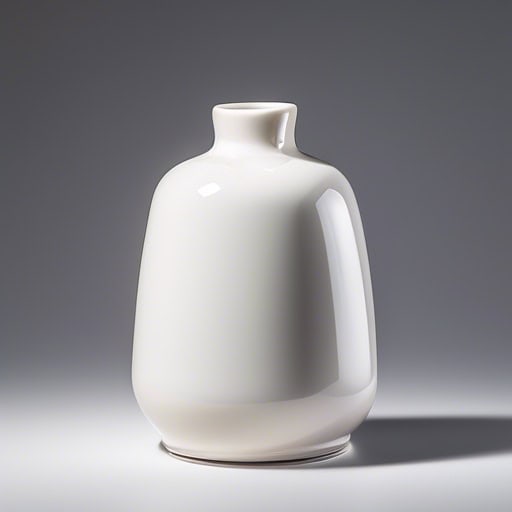
- I bought a beautiful ceramic vase for my living room.
- The ceramic plates in the kitchen are microwave-safe.
- The artist specializes in creating intricate ceramic sculptures.
- The potter molded the clay into a beautiful vase.
- The children enjoyed playing with clay and creating sculptures.
- After firing in the kiln, the clay hardened into a durable ceramic bowl.
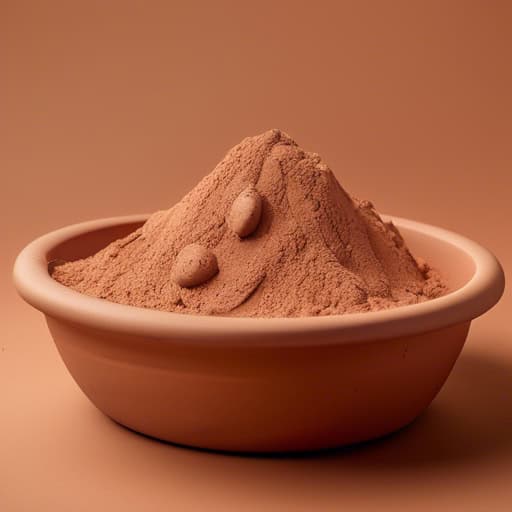
Clay preparation
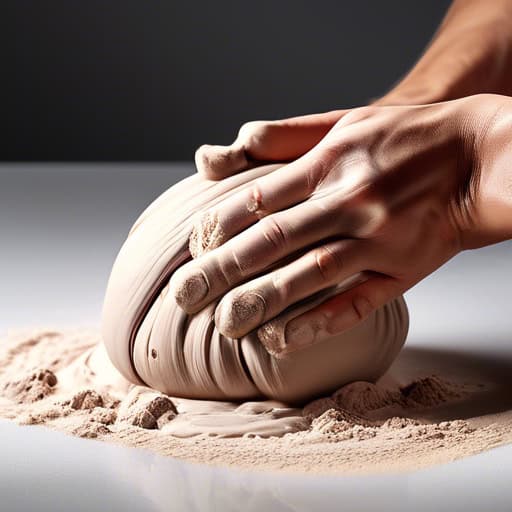
- His hands ached from hours of wedging clay in preparation for pottery class.
- She carefully followed the instructions for wedging the clay, making sure to get rid of any air pockets.
- The potter demonstrated the proper technique for wedging the clay, emphasizing the importance of consistency in the final product.
- The potter's hands expertly smoothed the surface of the clay vase, ensuring a flawless finish.
- After hours of meticulous work, the potter finally achieved a smooth and polished appearance on the ceramic bowl.
- The smooth glaze on the pottery masterpiece gave it a lustrous and elegant sheen.
- The potter carefully scored the edges of the clay pieces before joining them together.
- After scoring the clay vessel, the artist applied a layer of glaze for a shiny finish.
- The intricate score marks on the pottery added a unique texture to the final piece.
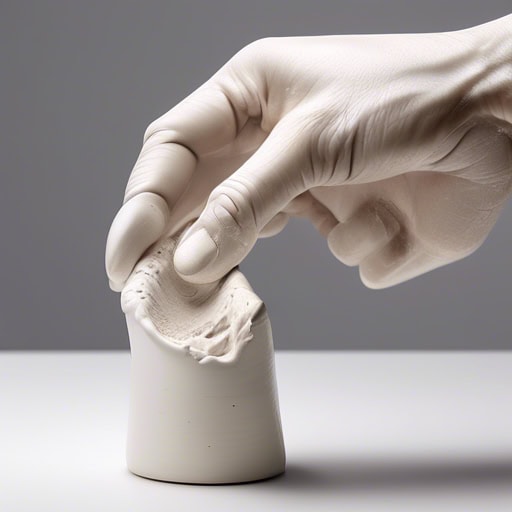
- She gently pinched the edges of the clay to create a defined rim on the pottery bowl.
- As she continued to pinch and mold the clay, the shape of the vase began to take form.
- Using the pinch technique, she carefully sculpted intricate details into the surface of the ceramic sculpture.
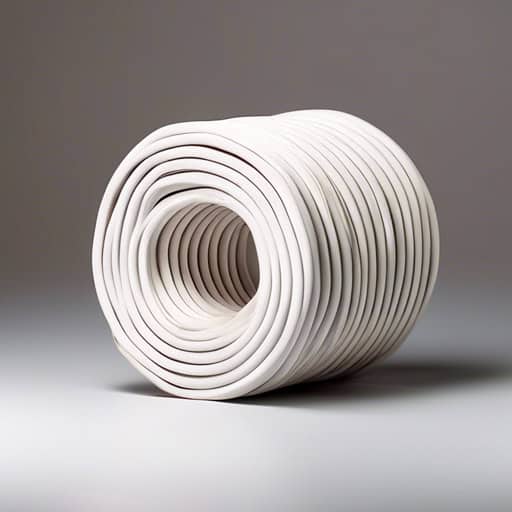
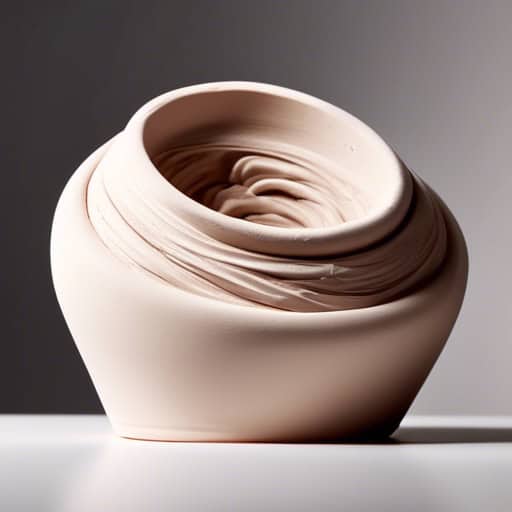
- The potter expertly shaped the coil into a beautiful vase.
- After rolling out the clay, she carefully coiled it to form the base of the bowl.
- Using a coil technique, he constructed a sturdy handle for the mug.
- The potter carefully applied a layer of slip to the surface of the clay vase.
- She let the slip dry before adding another layer of decoration.
- The slip added a beautiful glaze to the finished pottery piece.
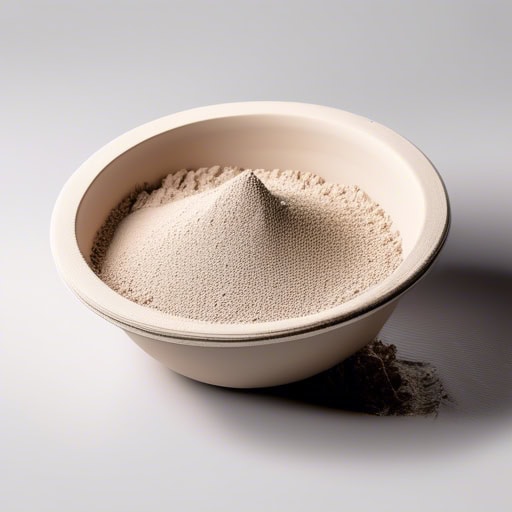
- After mixing the clay and water together, the potter began sifting it to ensure a clean and workable consistency.
- Sifting through the pile of clay, the potter carefully removed any rocks or debris that could affect the final product.
- The sifting process was tedious but necessary in order to achieve the desired smoothness in the pottery.
- After wedging the clay to remove air pockets, the potter began kneading the clay on the wheel.
- Kneading the clay is an essential step in pottery making to ensure that the final piece is structurally sound.
- The potter spent hours kneading the clay to achieve the desired texture and consistency for the project.
Throwing or hand-building
- I am currently scoring the edges of the clay pieces before attaching them to create a ceramic bowl.
- Scoring is an important step in pottery making to ensure that the pieces adhere securely to each other.
- The scoring technique helps to create a strong bond between the clay pieces, preventing them from separating during firing.
- She gently used her fingers to pinch the clay into a small bowl shape.
- The potter explained that using too much pressure while pinching could cause the clay to crack.
- After pinching the edges of the clay vessel, she smoothed out any rough spots.
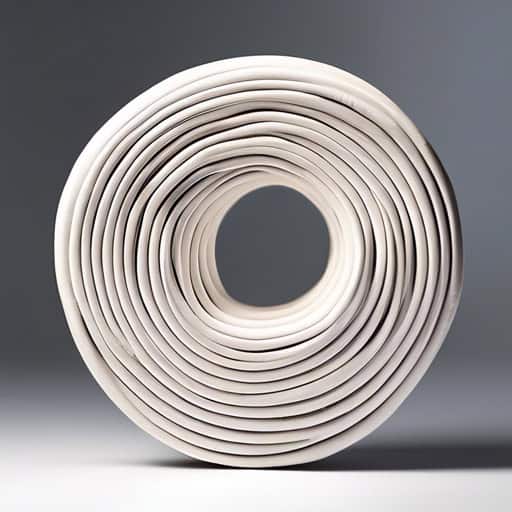
- The potter carefully shaped the coil of clay into a tall vase.
- She wrapped the coil around the base to build up the walls of the pot.
- After coiling the clay, the artist used a sponge to smooth out the surface.
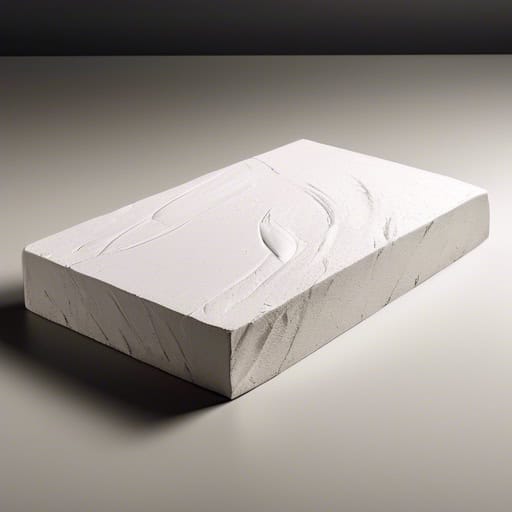
- She carefully placed the slab of clay onto the wheel and began shaping it into a bowl.
- After drying, the potter added a glaze to the slab to give it a shiny finish.
- The artist cut the slab of clay into smaller pieces to create intricate designs for her sculpture.
Trimming
- The potter spent hours meticulously trimming the edges of the clay bowl to create a smooth and even rim.
- After sculpting the clay vase, the artist carefully began trimming away the excess material to reveal the intricate design.
- Trimming is a crucial step in pottery making that requires precision and attention to detail to achieve the desired form.
- The potter spent hours carefully chattering the edges of the bowl to give it a unique design.
- The sound of chattering tools filled the air as the pottery class worked on their projects.
- The intricate chattering on the vase added a beautiful touch to the otherwise simple design.
- The potter spent hours meticulously faceting the sides of the vase to give it a unique geometric pattern.
- Faceting can be a time-consuming process, but the end result is always worth the effort.
- The faceting technique used by the artist created a stunning play of light and shadow on the surface of the sculpture.
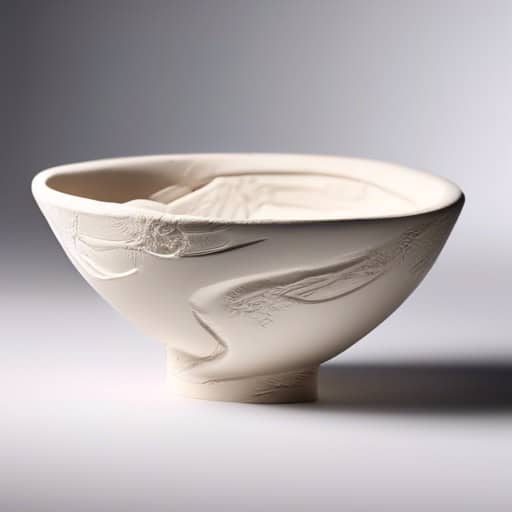
- The artisan spent hours meticulously carving delicate patterns into the clay vase.
- After the carving process is complete, the pottery is fired in a kiln to harden the design.
- The intricate carving on the ceramic bowl showcased the artist's skill and attention to detail.
- The potter carefully controlled the undercutting of the clay to create a graceful curve at the base of the vase.
- Undercutting can be a challenging technique to master, but it adds a unique touch to the finished piece.
- By undercutting the clay just right, the potter was able to achieve a delicate, lightweight appearance in the final design.
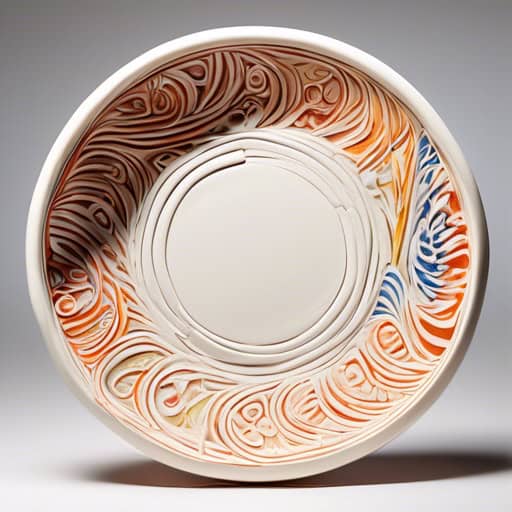
- The potter used sgraffito to create intricate patterns on the surface of the vase.
- Sgraffito is a common technique used in pottery to add visual interest to the piece.
- The artist carefully applied the glaze before using sgraffito to carve out a delicate floral design.
- Her eyes were darting around the room, searching for any signs of danger.
- The squirrel was darting back and forth across the yard, gathering acorns for the winter.
- The dancer's feet were darting across the stage with incredible speed and precision.
Drying
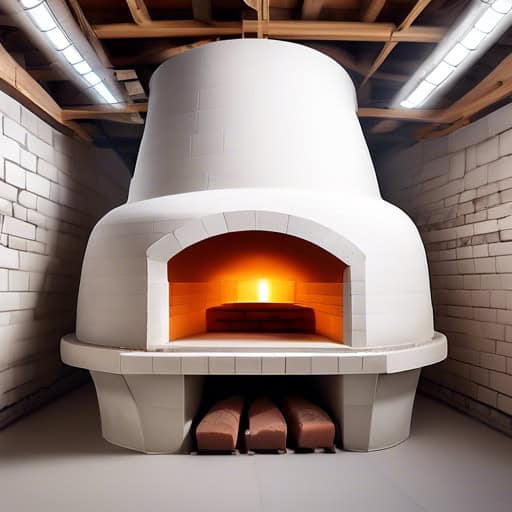
- The ceramic artist fired her pottery pieces in the kiln to achieve a glossy finish.
- The kiln reached temperatures of over 2000 degrees Fahrenheit during the firing process.
- The potter carefully loaded the delicate porcelain bowls into the kiln, making sure they were properly spaced apart.
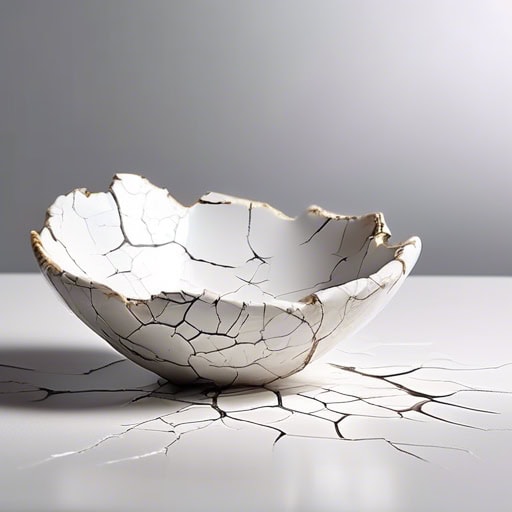
- The pottery maker was disappointed to see a significant amount of shrinkage in her latest creation after it was fired in the kiln.
- The shrinkage of the clay bowl caused it to crack during the firing process, ruining the piece.
- Properly controlling the drying and firing process can help minimize shrinkage in pottery making.
- The potter spent hours wedging the clay to prepare it for throwing on the wheel.
- Wedging is a crucial step in pottery making to prevent cracking during firing.
- After wedging the clay, the potter began shaping it into a beautiful vase.
- The potter carefully monitored the moisture content in the clay to ensure it was at the right level for shaping.
- After shaping the clay into a bowl, the potter allowed it to dry slowly to prevent cracking caused by uneven moisture distribution.
- Excessive moisture in the clay can cause the pottery to warp or collapse during firing, so it is important to dry it properly before placing it in the kiln.
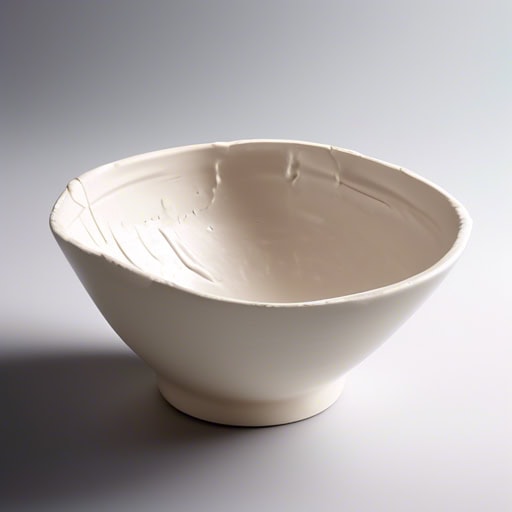
- The pottery class spent the afternoon shaping and molding their greenware pieces.
- Once the greenware has been fired in the kiln, it will transform into sturdy ceramic.
- The artist carefully painted intricate designs on her greenware before firing it in the kiln.
- The potter carefully applied a clear glaze to the ceramic bowl before placing it in the kiln.
- The vibrant colors of the glaze on the vase popped against the neutral background.
- After firing, the glaze on the plate had a smooth and shiny surface.
- After shaping the clay into a desired form, the pottery will go through a bisque firing to remove any remaining moisture.
- During the bisque firing process, the pottery is fired at a lower temperature than the final glaze firing.
- The bisque firing is crucial for preparing the pottery for glazing and achieving the desired finished product.
Glazing
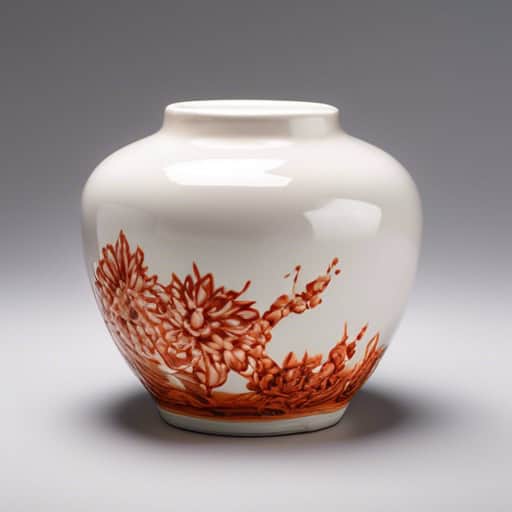
- The artist carefully painted delicate flowers using underglaze on the ceramic vase.
- The underglaze design gave the pottery a vibrant and detailed appearance.
- After firing in the kiln, the underglaze decoration was sealed with a clear glaze for a glossy finish.
- The artist carefully applied an overglaze of bright blue to the rim of the ceramic bowl.
- After the overglaze was fired in the kiln, the intricate design on the vase really popped.
- The subtle shimmer of the gold overglaze added a touch of elegance to the porcelain plate.
- The artist carefully applied the glaze to the pottery, creating a beautiful crackle pattern after firing.
- The delicate crackle on the surface of the vase added a unique and rustic charm to the piece.
- The crackle effect on the ceramic bowl gave it an aged and weathered appearance.
Quick Facts
- Pottery making is one of the oldest human crafts, with evidence of pottery dating back to around 29,000 BCE.
- The process of making pottery involves shaping clay on a wheel, drying, firing in a kiln, and then glazing if desired.
- Some ancient cultures believed that pottery had magical properties, such as the ability to protect against evil spirits.
- Throughout history, pottery has been used for practical purposes such as storing food and water, as well as for artistic expression.
- There are many different types of pottery, including earthenware, stoneware, and porcelain, each with its own unique characteristics and uses.