
Welcome to the Woodworking Vocabulary Page! Here, you can expect to find a comprehensive list of woodworking terms and definitions. Whether you are a beginner looking to learn the basics or an experienced woodworker wanting to expand your vocabulary, this page has you covered. Additionally, you will find interactive games, flashcards, and other resources to help you master the terminology associated with woodworking. Get ready to enhance your knowledge and skills in the world of woodworking!
Woodworking is a popular hobby and skilled trade that involves creating objects from wood. From furniture and cabinetry to small crafts and intricate designs, woodworking requires precision, attention to detail, and a creative eye. With the rise of DIY culture and sustainability movements, woodworking has gained even more popularity in recent years. Whether you are a seasoned professional or just starting out, woodworking offers a rewarding and fulfilling way to express creativity and create functional pieces that can last for generations.
Practice & Reinforce Your Learning
Woodworking Vocabulary List
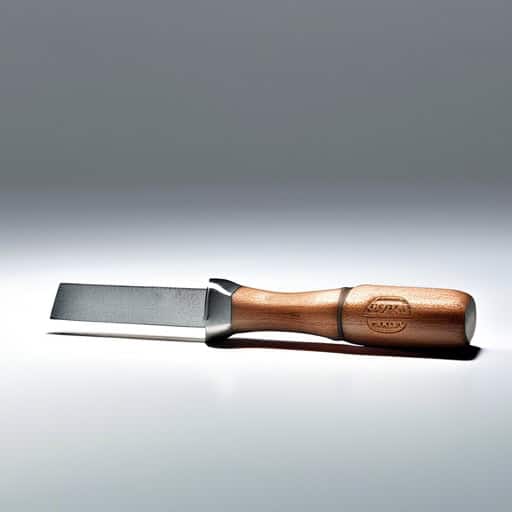
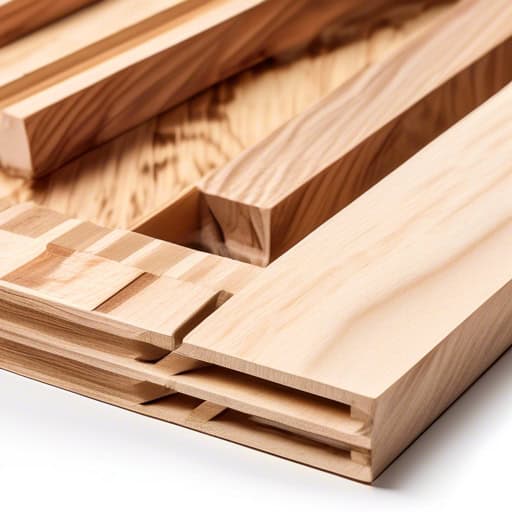
Tools

- I sawed through the thick piece of wood with a large saw.
- He sawed off the excess branches from the tree in the backyard.
- The carpenter carefully used the saw to create precise cuts in the wooden board.
- The carpenter used a chisel to carve intricate designs into the wooden chair.
- She carefully chiseled away at the block of wood, creating a beautiful sculpture.
- The sculptor used a chisel and mallet to chip away at the marble, revealing the statue hidden within.

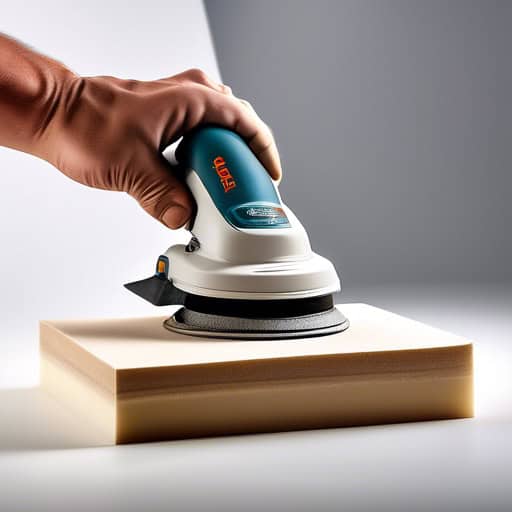
- The sander quickly smoothed out the rough edges of the wooden table.
- I need to borrow the electric sander to finish sanding the deck.
- After using the belt sander, the surface of the wood was perfectly smooth.
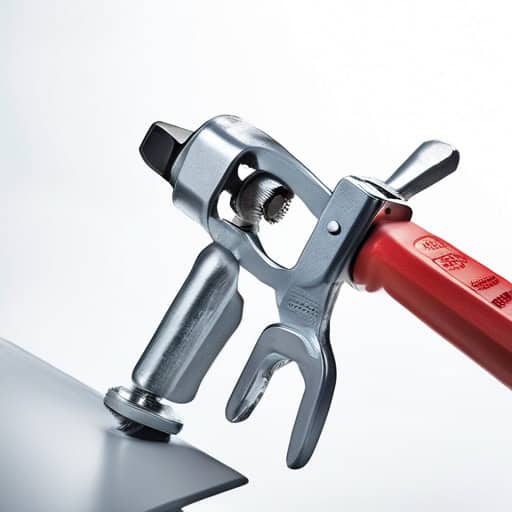
- The carpenter used a clamp to secure the two pieces of wood together before applying the adhesive.
- After cutting the wood to the desired length, she used a clamp to hold it steady while she sanded the edges.
- The woodworking project required several clamps of different sizes to ensure all the pieces were held together securely.

- The construction worker used a power drill to bore holes into the wooden beams.
- My dad taught me how to properly use a drill to hang shelves in my room.
- The carpenter carefully selected the appropriate drill bit size for the project at hand.

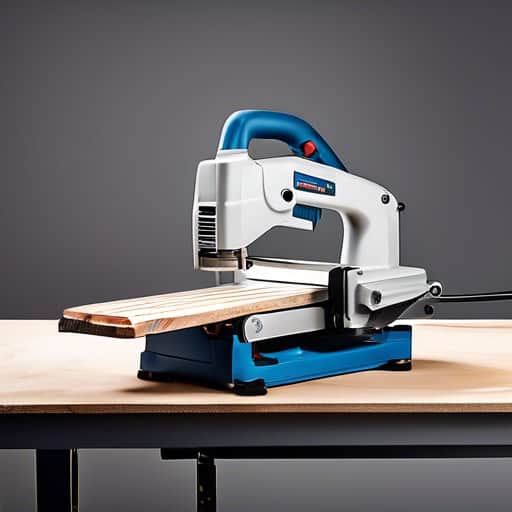
- The craftsman used a router to carve intricate designs into the wooden table.
- I need to adjust the settings on the router to ensure a smooth cut for this project.
- The router bit became dull after prolonged use and needed to be replaced.

- The carpenter used a plane to smooth out the rough edges of the wooden table he was making.
- I watched in amazement as the skilled craftsman effortlessly guided the plane across the surface of the wood.
- After hours of work, the woodworker finally achieved a perfectly flat and polished finish using the plane.
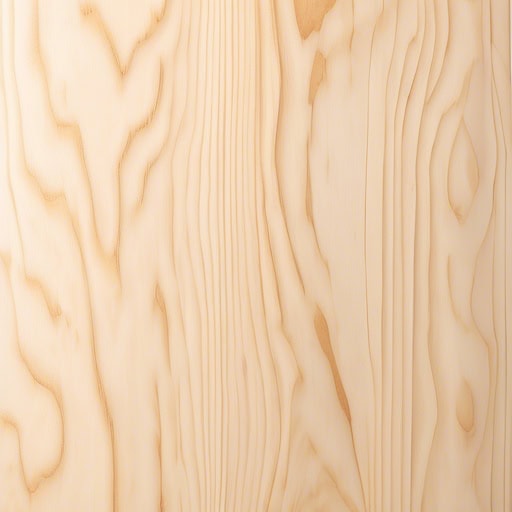
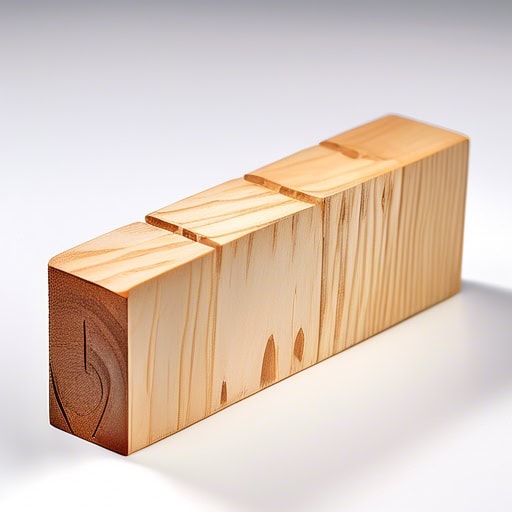
Materials

- The carpenter carefully measured and cut the wood to build a new bookshelf for the library.
- The rustic cabin was constructed entirely from reclaimed wood, giving it a cozy and warm atmosphere.
- The smooth finish of the polished wood tabletop gleamed in the sunlight, adding a touch of elegance to the dining room.
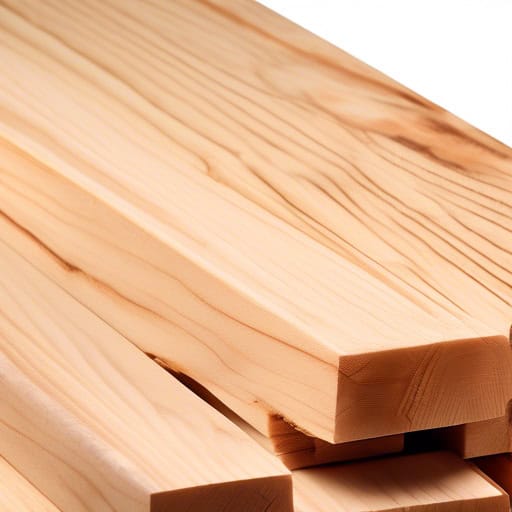
- The lumber for the new deck was delivered yesterday.
- The carpenters used sturdy lumber to build the frame of the house.
- We need to purchase more lumber for the shelving unit project.
- The carpenters used plywood to construct the new shelves in the living room.
- The contractor recommended using plywood for the subfloor of the new addition.
- The DIY project called for a sheet of plywood to create a sturdy workbench.

- The hardwood floors in the living room are beautifully polished and bring a warm, inviting atmosphere to the space.
- I prefer to work with hardwood when crafting furniture due to its durability and strength.
- The dining table is made from solid hardwood, ensuring it will last for many years to come.

- The construction company decided to use softwood for the framing of the new building due to its affordability and easy workability.
- Softwood is commonly used in furniture making due to its strength and durability.
- The softwood used for the deck was treated to withstand the outdoor elements.

- The antique dresser was beautifully restored with a new veneer to cover the scratched surface.
- The custom-made table had a glossy veneer finish that added a touch of elegance to the room.
- The cabinet maker carefully applied the veneer to the door panels, creating a seamless and polished look.
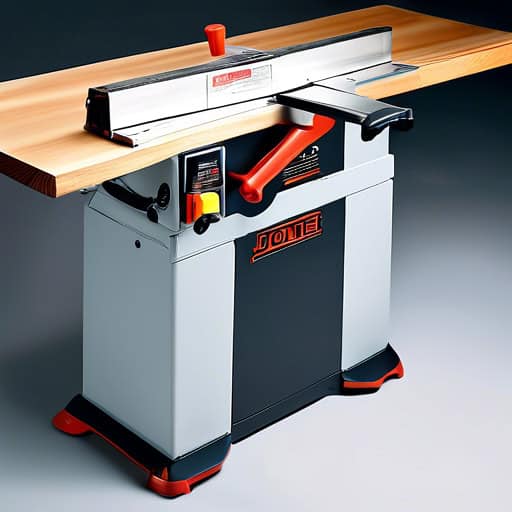
- The carpenter used a jointer to smooth out the rough edges of the wood before assembling the furniture.
- The jointer helped create a seamless joint between the two pieces of wood.
- With the help of a jointer, the woodworking project turned out perfectly smooth and professional.
- The carpenter used a planer to smooth out the rough edges of the wooden table.
- After running the planer over the surface of the wood, it became sleek and polished.
- I watched as the craftsman expertly guided the planer along the length of the board, creating a perfect finish.
Techniques
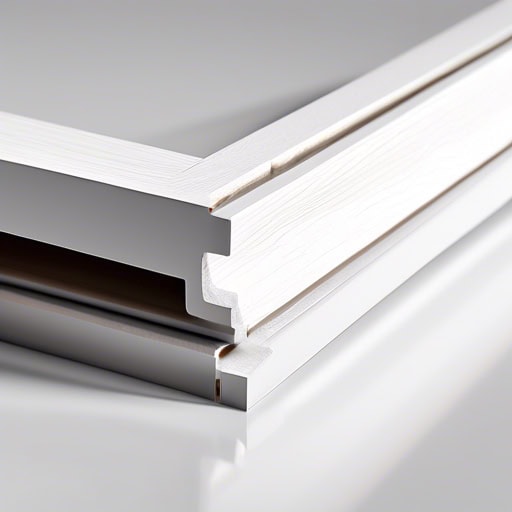
- The carpenter expertly cut the wood pieces at a precise miter angle for a seamless joint.
- After measuring twice, she carefully lined up the mitered edges before securing them with wood glue.
- The picture frame was assembled with perfect mitered corners, creating a polished finish.
- The carpenter carefully chiseled out a tenon on the end of the wooden beam.
- After applying glue, he inserted the tenon into the mortise to complete the joint.
- The precision of the tenon and mortise connection ensured a sturdy and durable piece of furniture.
- The carpenter carefully chiseled out a mortise in the door frame to fit the hinges.
- After measuring twice, he marked the location for the mortise on the table leg.
- She used a mortise and tenon joint to connect the chair legs to the seat for added stability.
- The dovetail joint on the drawer of the antique dresser was expertly crafted and provided both strength and beauty to the piece.
- I watched in awe as the skilled carpenter seamlessly fit the two pieces of wood together in a perfect dovetail joint.
- The dovetail design of the bookshelf allowed for easy assembly and ensured stability for years to come.
- After sanding the wooden table, I applied a coat of varnish to protect the surface.
- Sanding the rough edges of the bookshelf made it look much more polished and professional.
- I spent the entire afternoon sanding down the old dresser to prepare it for a fresh coat of paint.
- I spent the afternoon planing the rough edges of the wooden table I was building.
- The master carpenter demonstrated the proper technique for planing to the apprentice.
- I prefer using a hand plane when planing because it gives me more control over the finish.
- The intricate joinery on the antique cabinet showcased the craftsmanship of the woodworker.
- The joinery in the custom-made dining table was so precise that the seams were nearly invisible.
- The woodworking class focused on teaching students the art of traditional joinery techniques.
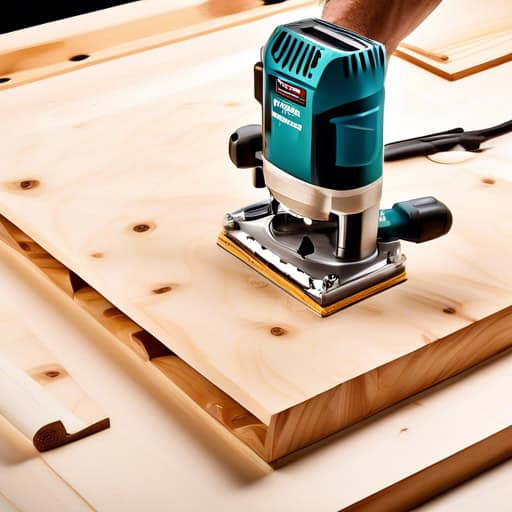
- The routing process can be used to create intricate designs and patterns in wood.
- I need to practice my routing skills before attempting to create the project.
- The routing bit needs to be securely fastened to the router before beginning the project.
Finishing

- The craftsman applied a thick coat of shellac to the antique wooden table to bring out its natural beauty.
- The shellac finish on the cabinet gave it a rich, glossy appearance that was both elegant and durable.
- After sanding down the rough edges of the chair, the woodworker carefully brushed on a layer of shellac to protect and enhance the wood grain.
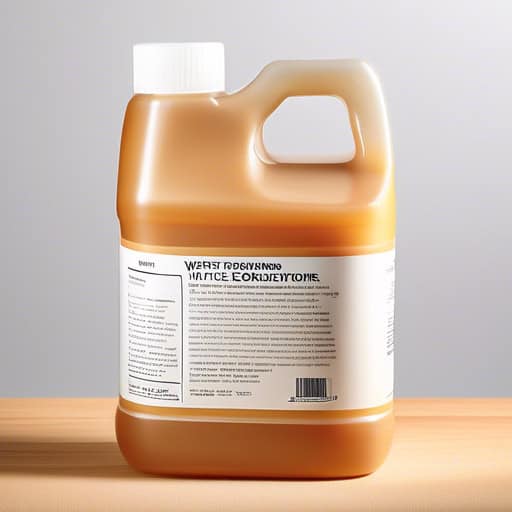
- I applied wood conditioner to the raw pine table before staining it to prevent blotchiness.
- Make sure to evenly coat the entire surface with wood conditioner for best results.
- Using a quality wood conditioner can significantly improve the final appearance of your stained project.

- The sealer we used on the deck helped to protect the wood from water damage and fading in the sun. Our contractor recommended applying two coats of sealer for maximum durability. It's important to allow the sealer to fully dry before painting or staining to ensure a smooth finish.

- The carpenter applied a coat of polyurethane to the wooden table to protect it from water damage.
- Polyurethane is a versatile material that can be used for a variety of applications, including flooring and furniture finishes.
- The polyurethane coating on the deck helps to resist fading and wear from the sun and foot traffic.
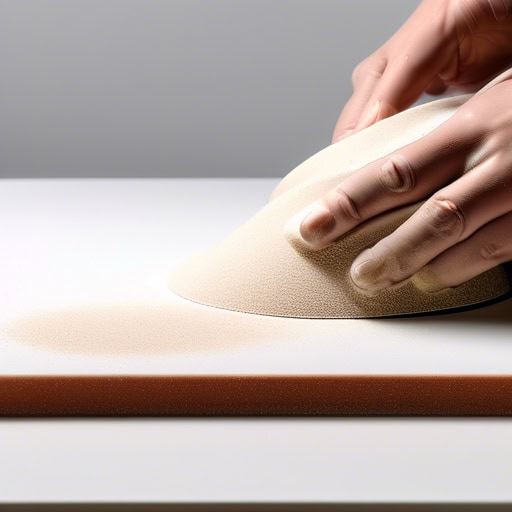
- After sanding the table, it was ready to be stained and sealed.
- The carpenter spent hours meticulously sanding each piece of wood to ensure a smooth finish.
- I always wear a mask and goggles when sanding to protect myself from inhaling the dust.

- The lacquer coating on the wooden table gave it a glossy finish.
- She carefully applied several layers of lacquer to the antique dresser to protect its surface.
- After the lacquer dried, the bookshelf had a beautiful shine that enhanced its appearance.
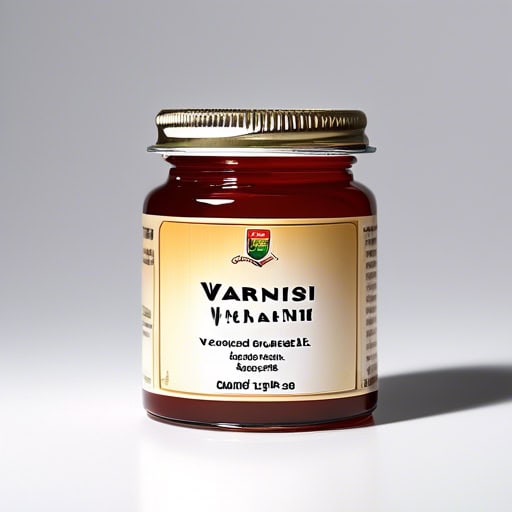
- The carpenter carefully applied a coat of varnish to the dining table to give it a glossy finish.
- After sanding down the old bookshelf, she decided to varnish it to bring out the natural beauty of the wood.
- The antique dresser was in need of a new coat of varnish to protect it from scratches and water damage.

- The rich, warm stain on the wooden table brought out the beautiful grain of the wood.
- I accidentally spilled red wine on the light-colored stain of my dining room chair, leaving an unsightly mark.
- After sanding down the old stain, I applied a fresh coat of dark walnut stain to the dresser, transforming it into a stunning piece of furniture.
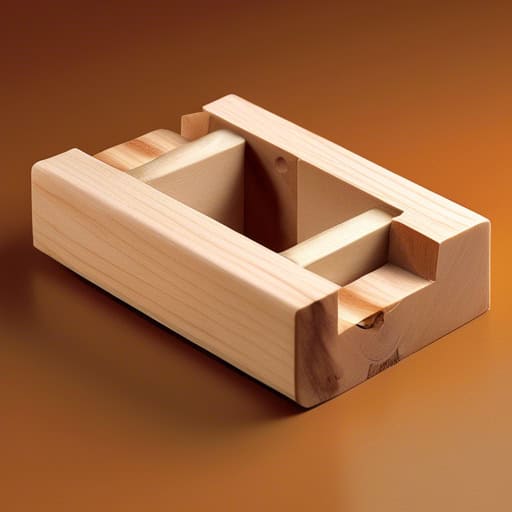
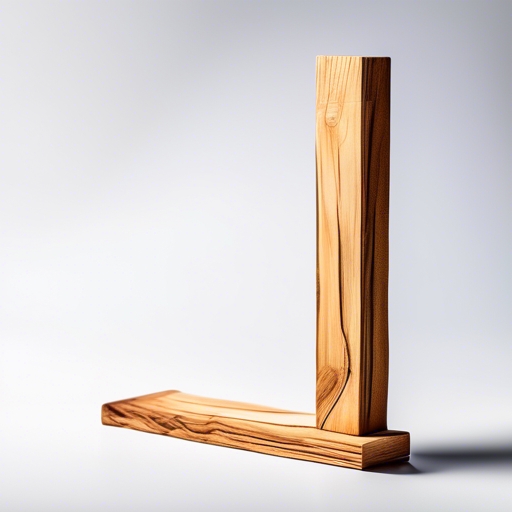
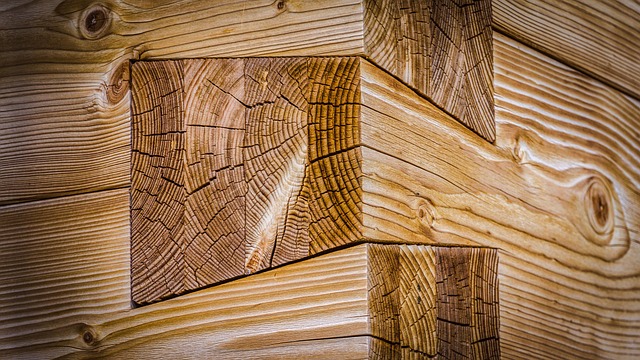
Joints
- The craftsman carefully chiseled out the mortise to create a perfect fit for the tenon.
- The table legs were securely joined together with mortise and tenon joints.
- The ancient temple was constructed using intricate mortise and tenon joinery techniques.
- The craftsman used a dovetail joint to securely join the drawers of the antique dresser.
- I watched in awe as the intricate dovetail joints seamlessly connected the pieces of the handcrafted table.
- The dovetail joint is known for its strength and durability, making it a popular choice for furniture makers.
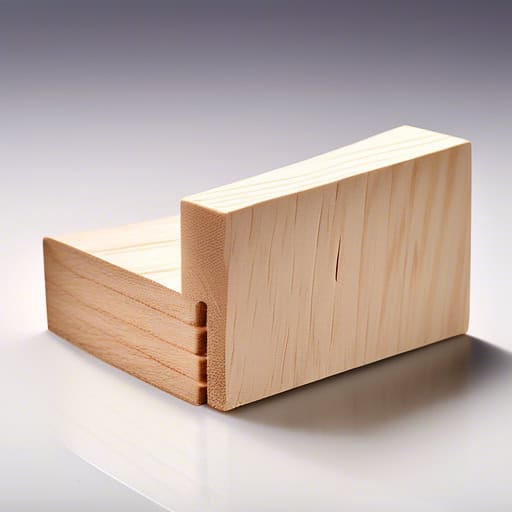
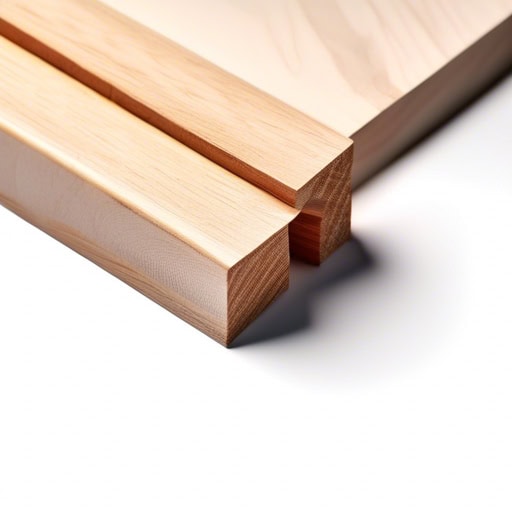
- The carpenter carefully measured and cut a rabbet into the wood to join two pieces together.
- The cabinet maker used a router to create a precise rabbet for the drawer slides.
- The bookshelf was assembled using rabbet joints for added strength and stability.

- The biscuit helped to reinforce the joint in the table leg.
- I carefully inserted the biscuit into the slot before gluing the pieces together.
- After the glue dried, the biscuit provided additional stability to the project.
- The butt joint is one of the simplest and weakest types of woodworking joints.
- To strengthen a butt joint, it is common to add additional reinforcement such as screws or dowels.
- When done correctly, a properly glued butt joint can still be quite strong and durable.
- The half-lap joint is commonly used in furniture making to create strong connections between pieces of wood.
- A skilled woodworker can create a seamless half-lap joint that enhances the overall aesthetic of the project.
- When properly executed, a half-lap joint can provide both strength and visual appeal to a woodworking project.
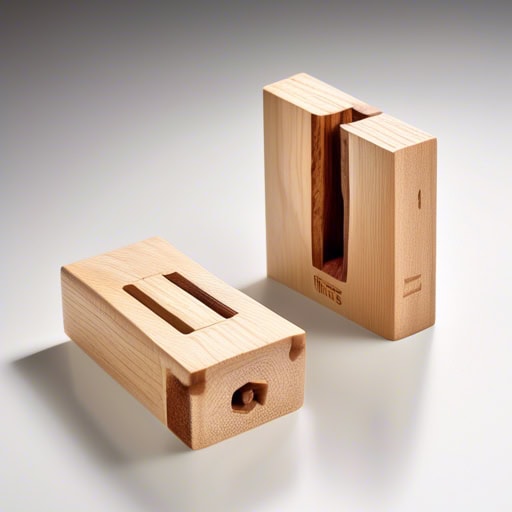
- The finger joint is a common method used in woodworking to create strong and durable connections between pieces of wood.
- When properly constructed, a finger joint can provide a seamless and visually appealing finish to a project.
- I prefer using finger joints when constructing furniture because of their stability and longevity.
Quick Facts
- Woodworking is one of the oldest forms of craftsmanship, dating back thousands of years to ancient civilizations such as the Egyptians and Chinese.
- One of the most famous woodworking techniques is called dovetailing, where two pieces of wood are joined together by interlocking wedge-shaped tails and pins.
- Woodworking requires a variety of specialized tools, such as saws, chisels, planes, and routers, to shape and manipulate the wood into desired forms.
- There are different types of woodworking, including carpentry (constructing buildings and structures), cabinetry (making furniture and cabinets), and wood carving (creating decorative objects).
- Woodworking can have numerous benefits for mental health, as it requires focus, creativity, and problem-solving skills, and can provide a sense of accomplishment and satisfaction when a project is completed.